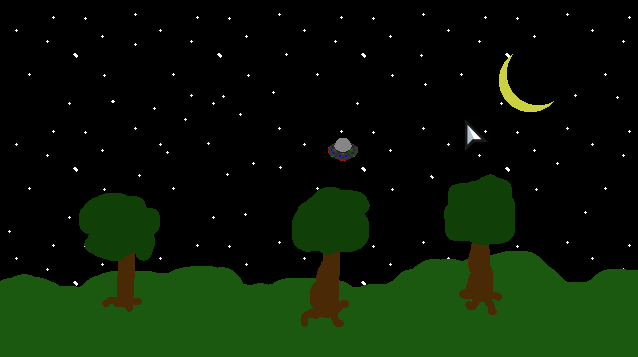
Before we get into the first full game made in my current project, I wanted to share a few things from Chapter 5. Chapter 5 introduced the developer to player input with the keyboard. In this chapter, we made a little “game” that lets the player fly a flying saucer around a night sky. Fun, but not super interesting. But with what we learned about player input, we can start making real games.
Chapter 6: Memory Game
With the introduction of player input, Chapter 6 gives us an example that uses mouse input. This memory game is a pretty simple concept going back decades or more. You take a deck of cards and lay them face down and try to find all the matches.
I actually created one of these a long time ago when I was still working with Flash and Actionscript, called HexMatch. That SWF is no longer playable and I doubt you would be able to get the code to compile. So I thought it a great time to create a new matching game. Introducing BGP: Memory.

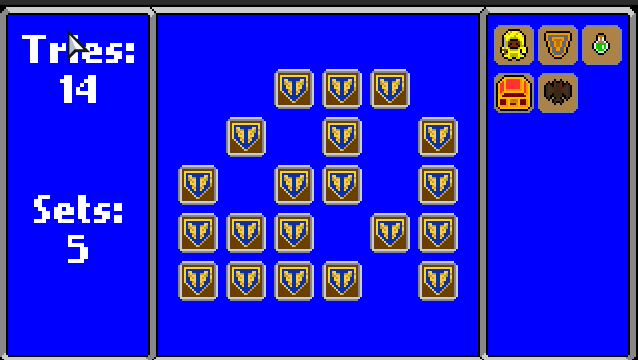
This version of the game is a slight departure from the example in the book. In that one, the developer just creates the cards, lays them out, and you play. I decided to add a score board with a visual counter of how many moves you have made, and how many matches you have completed. I also added a side bar where all completed matches rest.
As you take a look at the source code for this project, there are a few things to note. First is the game window size. In the Project.xml file, I set the window to 640×360. If you look at the assets, the background is only 320×180. If you look in the Main.x, you will see some new code there that zooms in the game screen from 320×180 by 2. This zooms the game in to fit the larger window size. This makes the game easy to see while also keeping assets at smaller sizes.
The next change is the use of a texture atlas. In the assets/images folder, you find a sprite called cards.png. This has all the card assets, faces and backs. In the assets/data foler is a cards.json file with a json list of all the names and locations of each card face. In the PlayState class, we use the FlxAtlasFrames class to generate a texture atlas we use in the Card class. Using this new atlas, we can use the animation class which is a part of FlxSprite to assign and change what image visually represents the Card based on its state.
The next cool part is the use of FlxMouseEventManager in the Card class. This allows HaxeFlixel to capture mouse input and execute code based on which mouse action we wish to track. In this game, I am only tracking the mouse up event to flip cards over.
Finally, when I first started working on this game, I was simply changing the animation frame to the face and back. This resulted in immediate change that was kind of jarring. So I found FlxTween to create an animation that makes it look like the card is physically flipping. This added a whole new play experience. Makes it more real and even more fun.
All in all, the game is pretty simple, but it is a fully functioning game with a play and win state. As we build more examples in Beginning Game Programming, we will have even more games. The next chapter is another version of the UFO example that uses controller input. I won’t make a dedicated blog for that, but I will be adding it to itch.io.